Data Management
Data Management in OpenReplay allows you to track custom events and user properties to power your product analytics. This page covers both the SDK integration for sending data and the UI for managing it.
For complete SDK documentation, see the Analytics SDK reference.
Events Overview
Section titled Events OverviewOpenReplay captures two types of events:
- Auto-captured events: Automatically tracked interactions like page views, clicks, and form submissions
- Custom events: Domain-specific events you define, such as “purchase completed” or “feature enabled”
Custom events let you track the specific user actions that matter to your business and use them in analytics features like Trends, Funnels, and Journeys.
Capturing Events
Section titled Capturing EventsTo track custom events, use the SDK’s analytics events module. For complete API documentation, see the Events SDK reference.
Basic Example
Section titled Basic Example// Track a simple event
tracker.analytics.events.sendEvent("Button Clicked", {
button_text: "Start",
page: "home",
})Super Properties
Section titled Super PropertiesSuper properties are persistent key/value pairs automatically attached to every tracked event:
// Set super properties that apply to all events
tracker.analytics.events.setProperty({
  app_version: "1.42.0",
  env: "prod",
})

// This event will include app_version and env automatically
tracker.analytics.events.sendEvent("Signup Started", {
  plan: "pro",
})
Enriching Users
Section titled Enriching UsersUser properties allow you to store attributes about your users for segmentation and analysis. For complete API documentation, see the People SDK reference.
Identifying Users
Section titled Identifying Users// Identify the current user
tracker.analytics.people.identify("user_123")
// Set user properties
tracker.analytics.people.setProperties({
email: "user@example.com",
plan: "pro",
})Property Types
Section titled Property TypesOpenReplay supports several property types:
| Type | Description | Examples |
|---|---|---|
| Auto-tracked | Automatically captured by the SDK | Device, browser, OS, UTM parameters, referrer |
| Special | Special properties with defined behavior | $user_id, $email, $name |
| Custom | User-defined properties | plan type, company, signup date |
Managing Data in the UI
Section titled Managing Data in the UIOpenReplay provides a Data Management interface to browse, filter, and organize your users, events and their respective properties.
People
Section titled People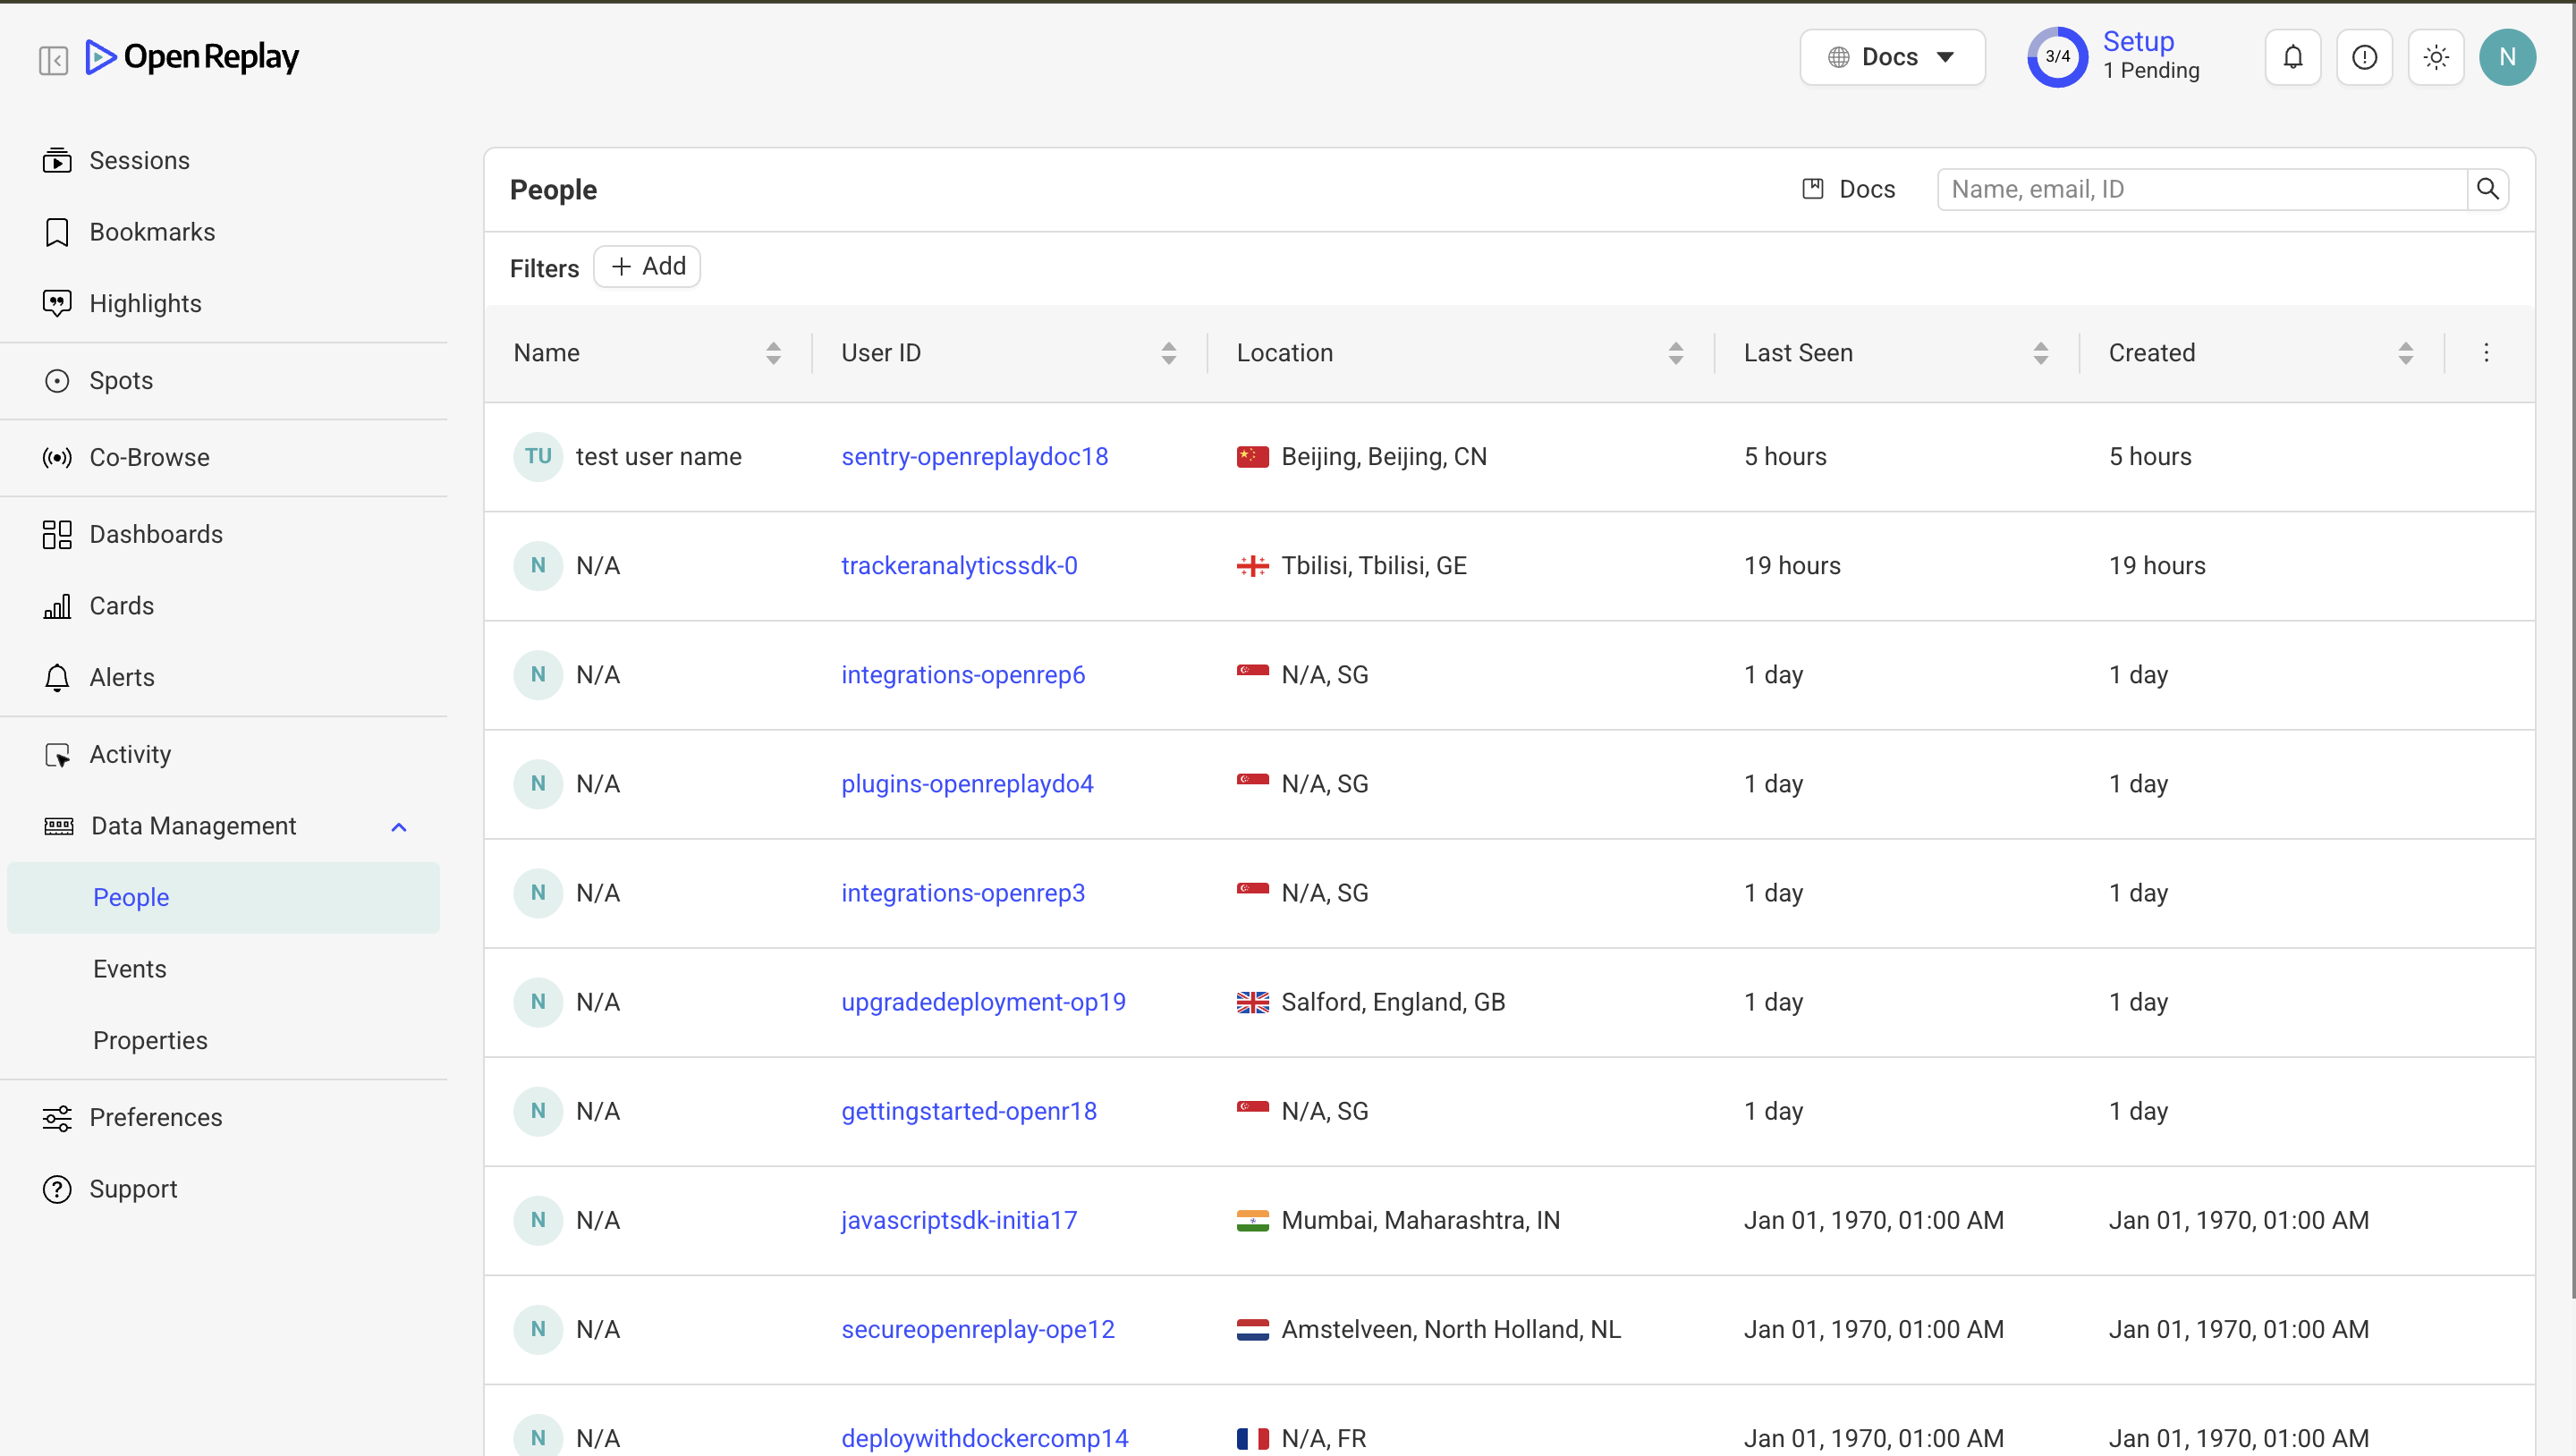
The People tab provides a view of your identified users:
- Browse users and their properties
- Search by user ID or property values
- View user activity and session history
- Access individual user profiles
Events
Section titled Events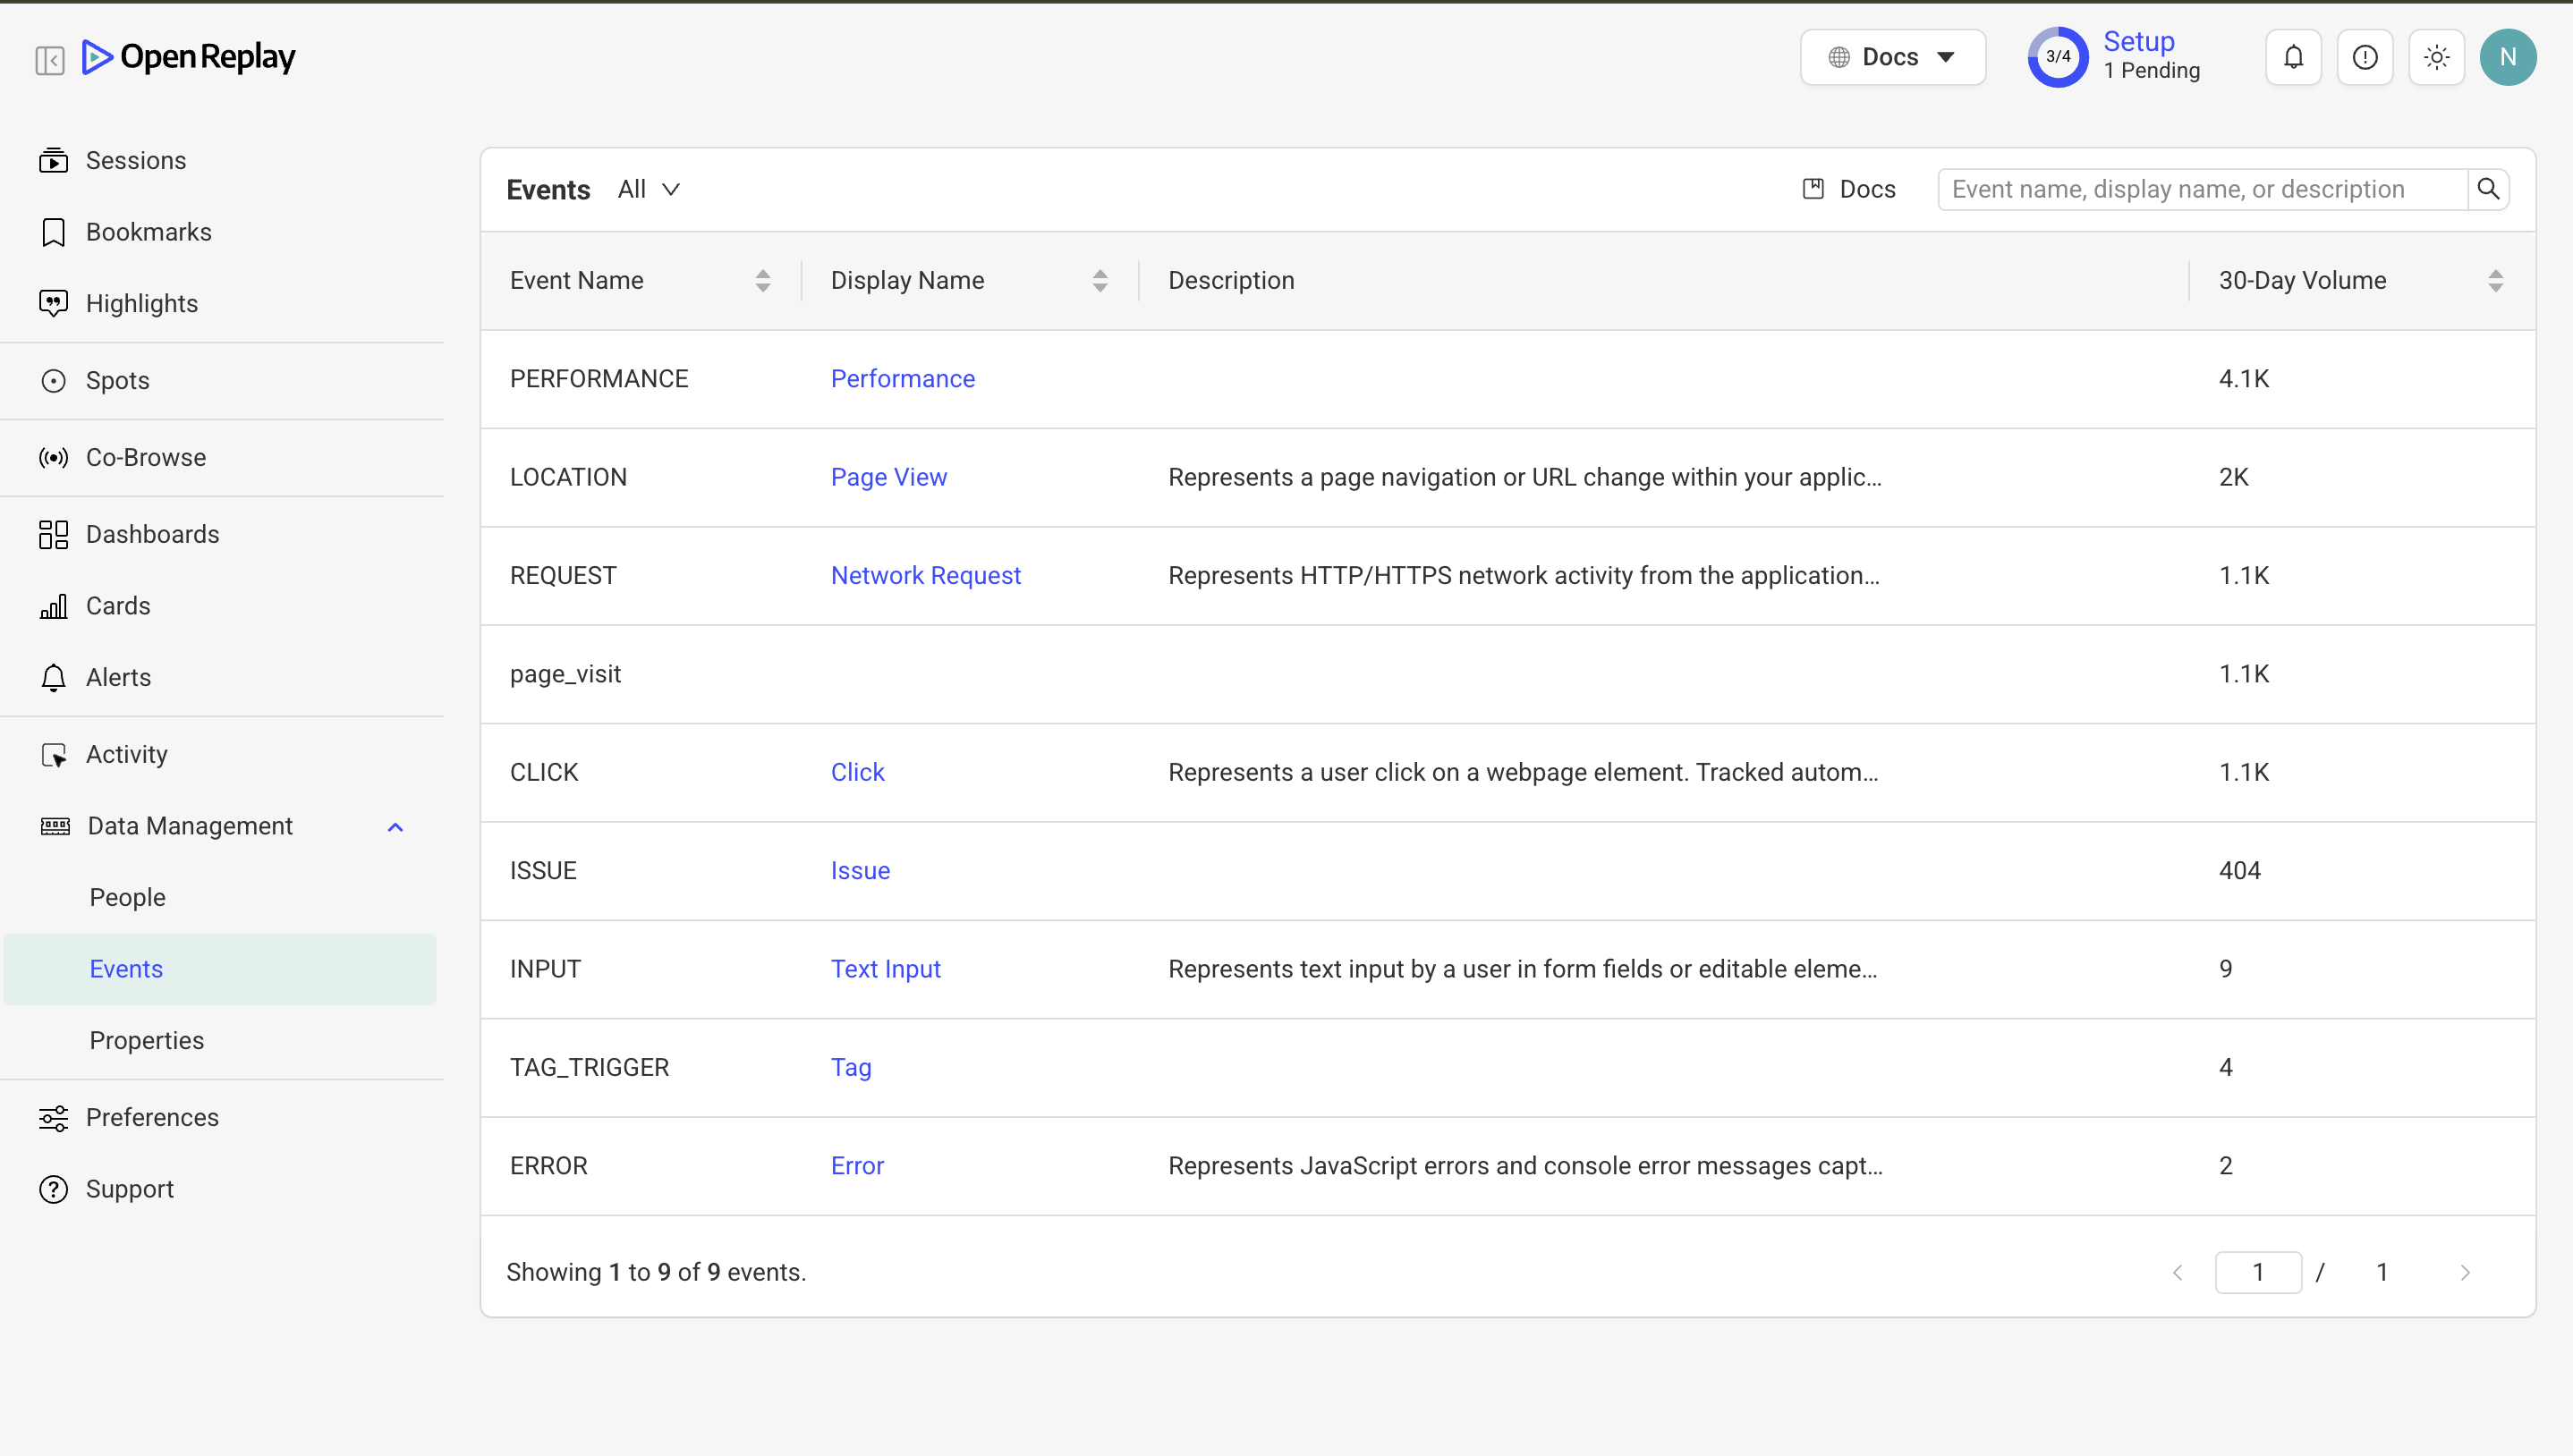
The Events tab displays all tracked event kinds in your project:
- Browse and search events by name
- Filter by event type (auto-captured vs custom)
- Edit event metadata (display name, description)
- Control event visibility in dashboards and filters
Properties
Section titled Properties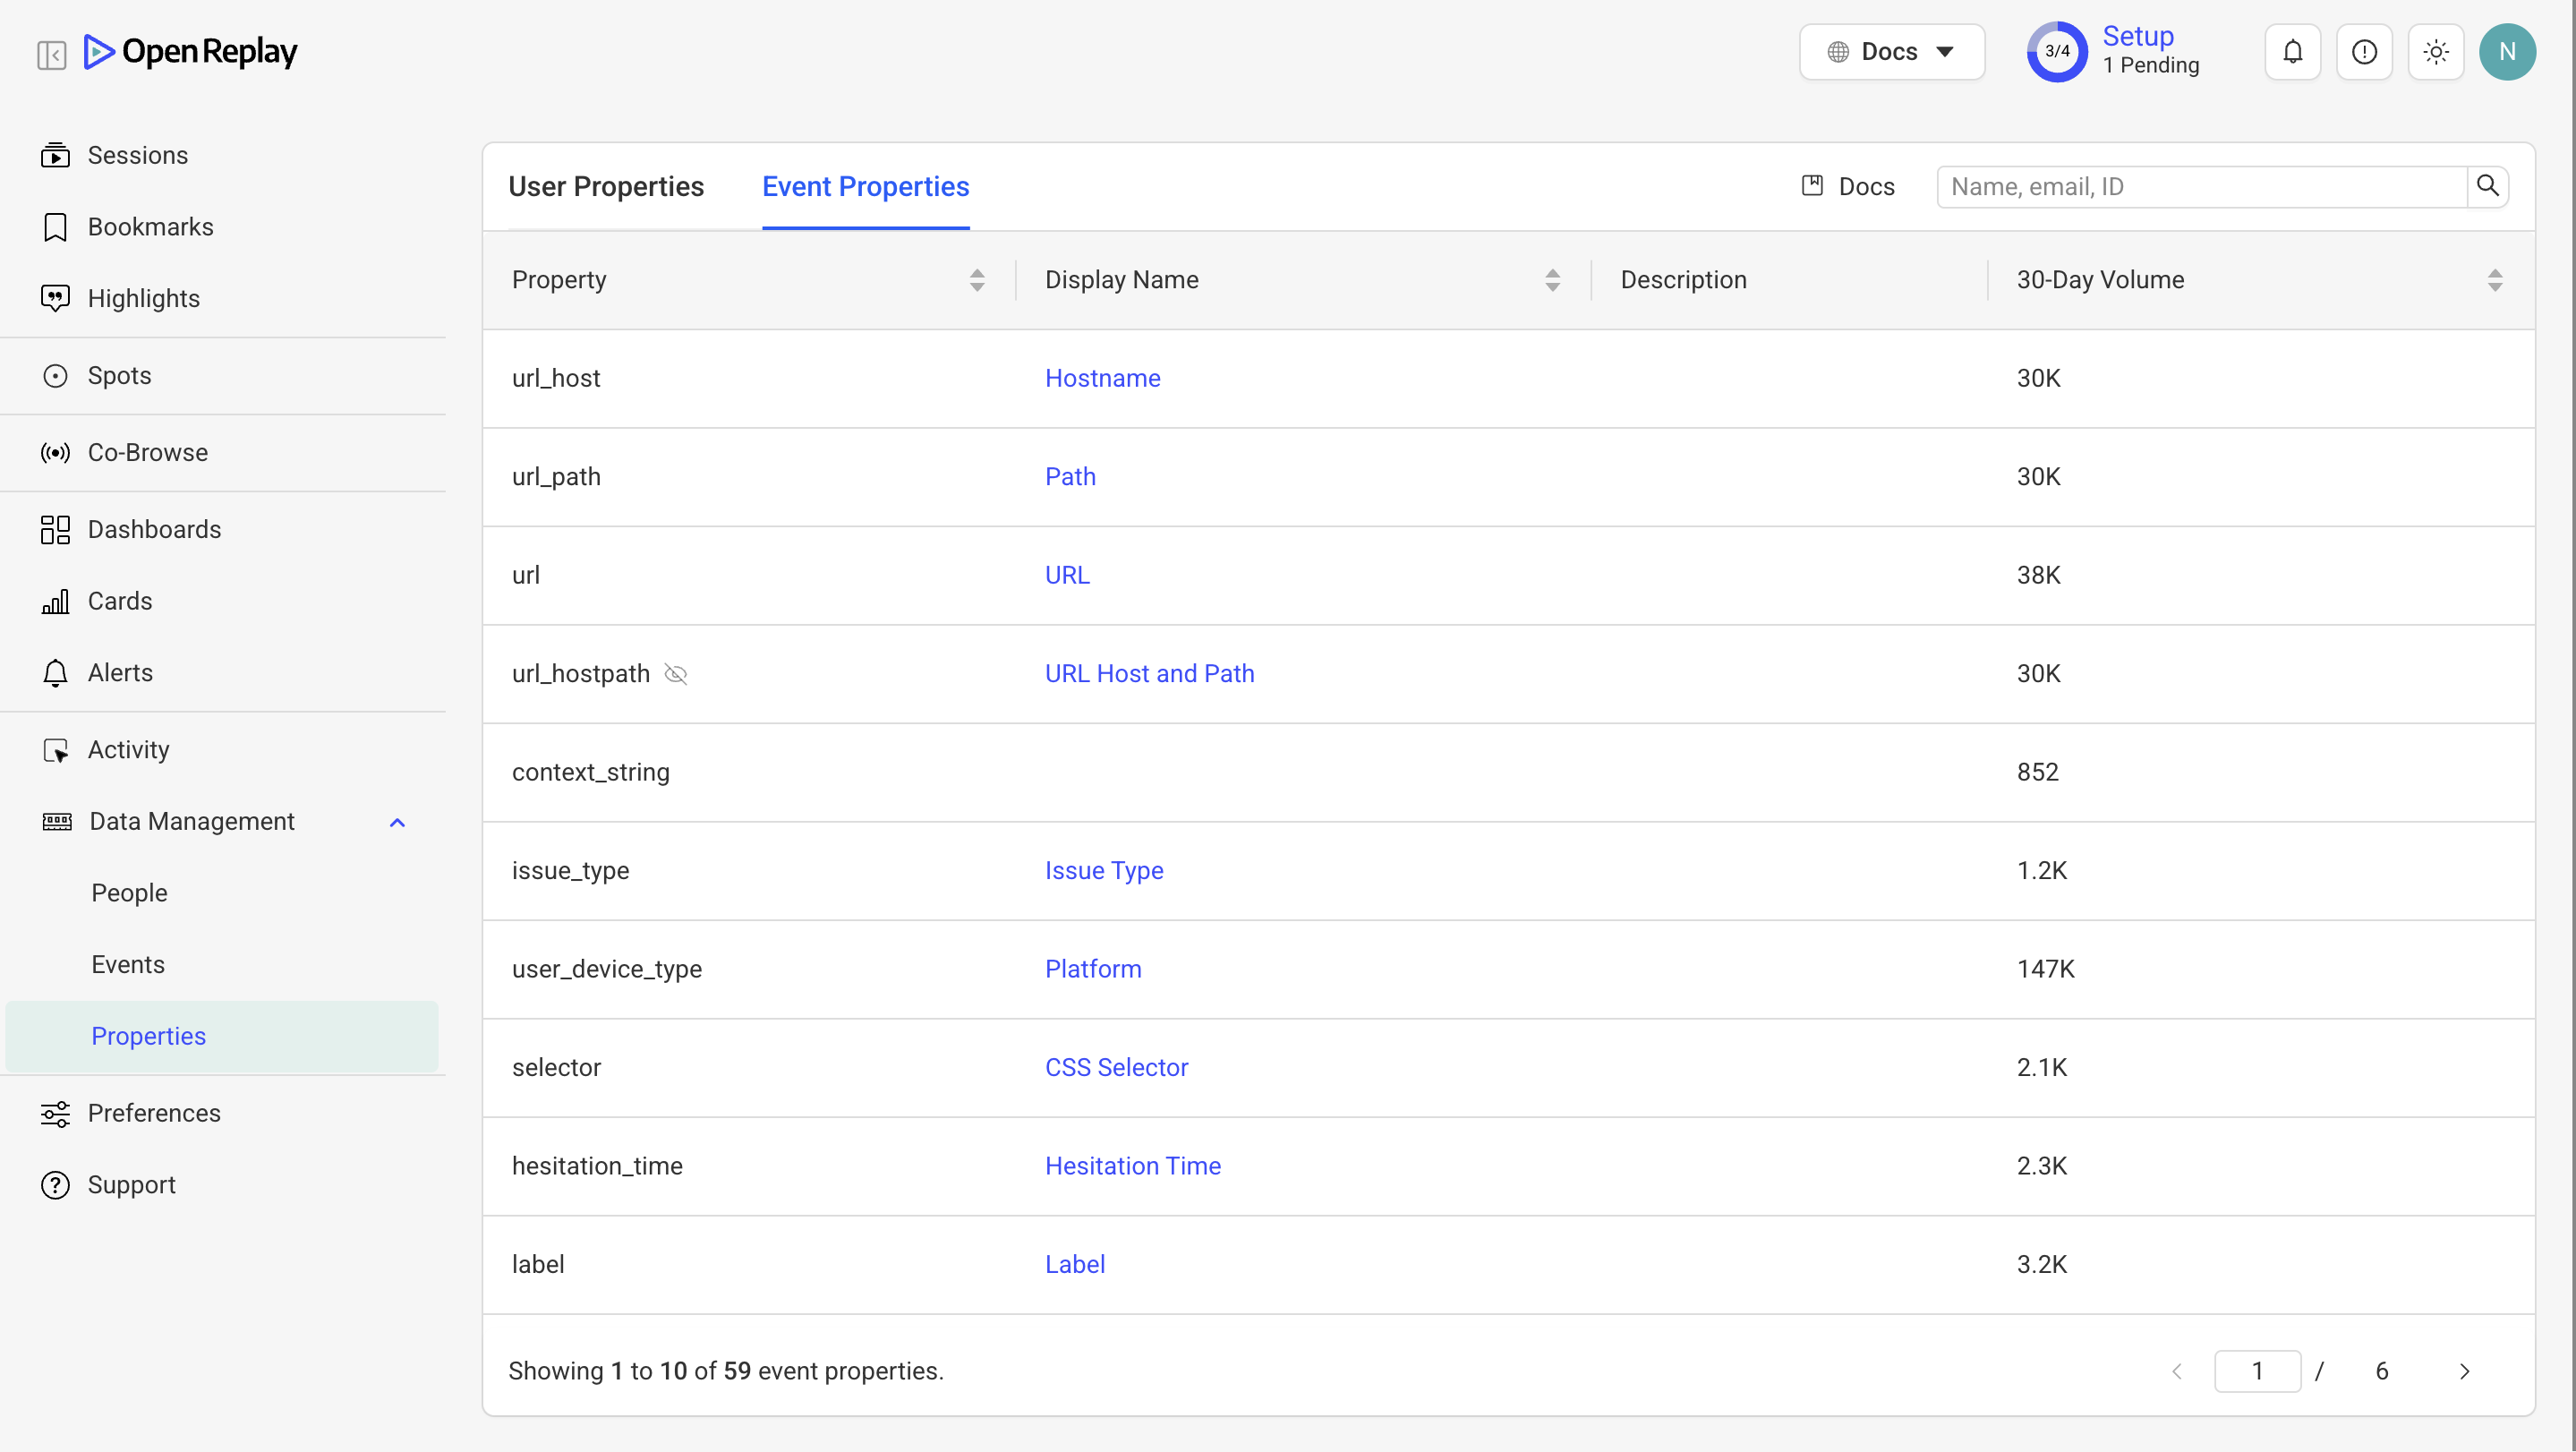
The Properties tab lets you manage both user and event properties:
- Toggle between user properties and event properties
- View property types and value distributions
- Edit property display names
- Control property visibility in dashboards and filters
Activity
Section titled Activity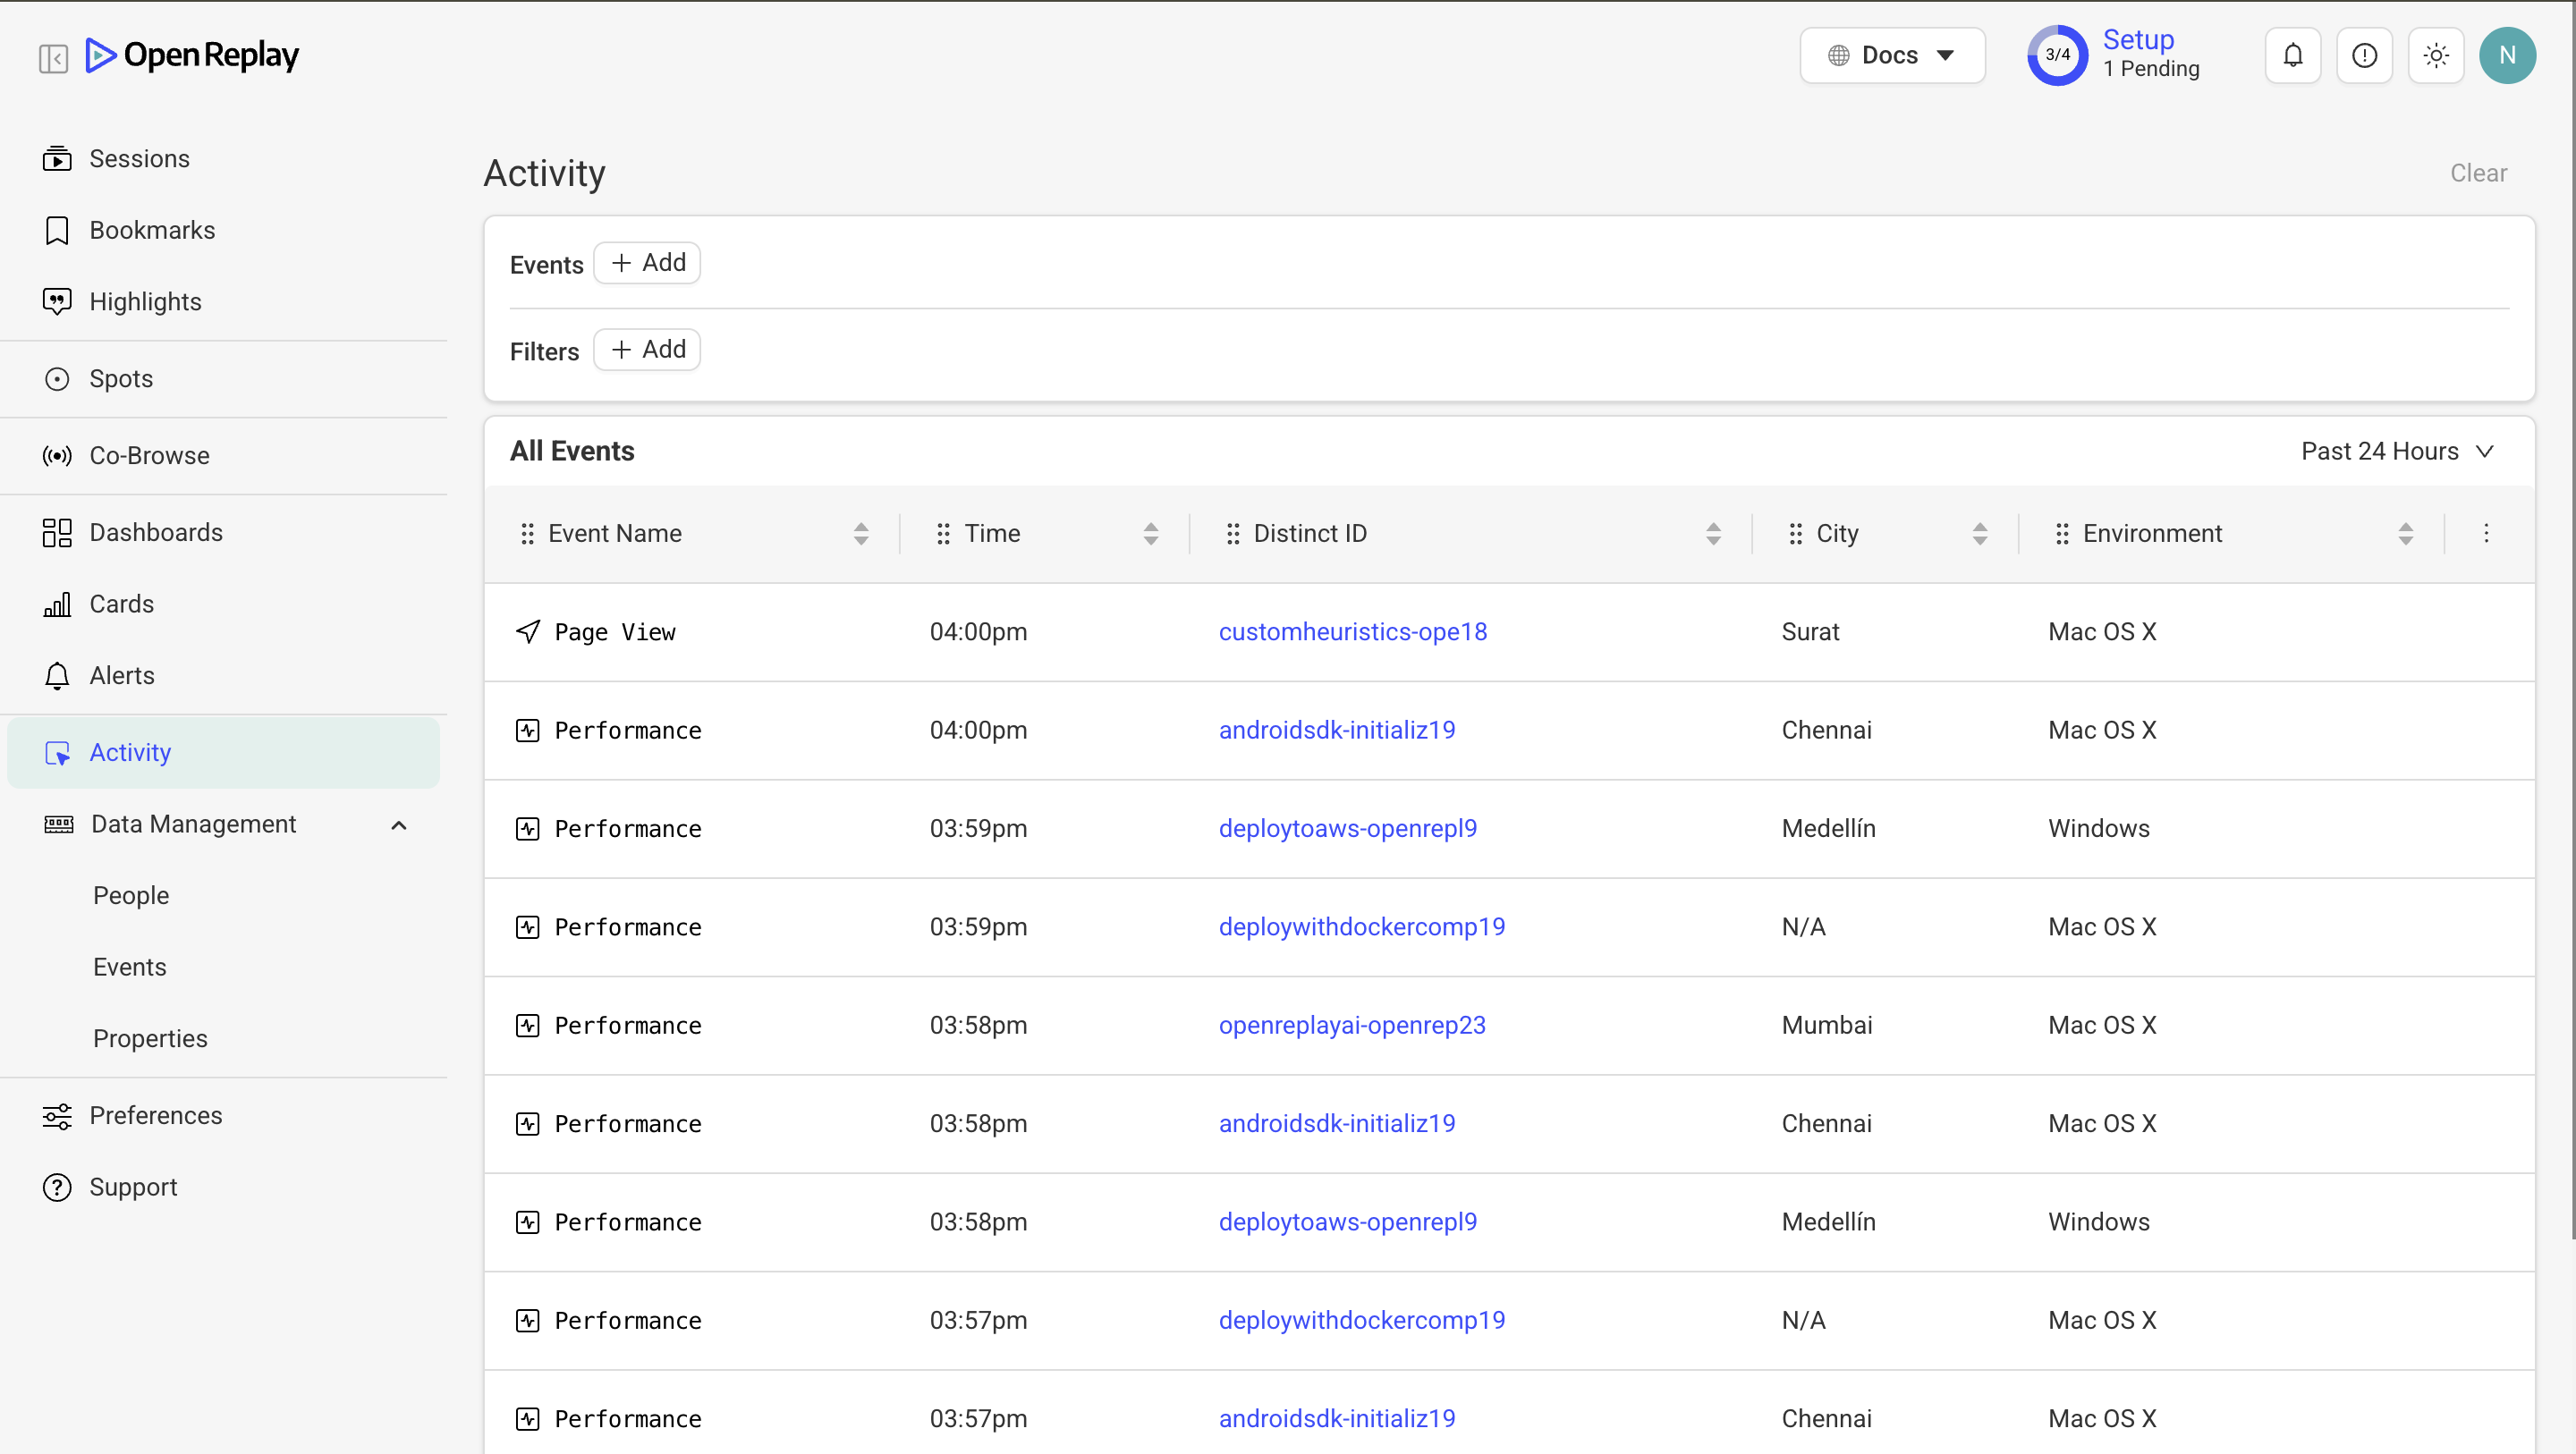
The Activity tab shows a real-time stream of events:
- Monitor events as they’re ingested
- Filter by event type or user
- Verify events are being captured correctly
Segments
Section titled SegmentsSegments let you group multiple events into a single, reusable collection with a custom name and description. Instead of selecting individual events each time, you can define a Segment once and use it across OpenReplay.
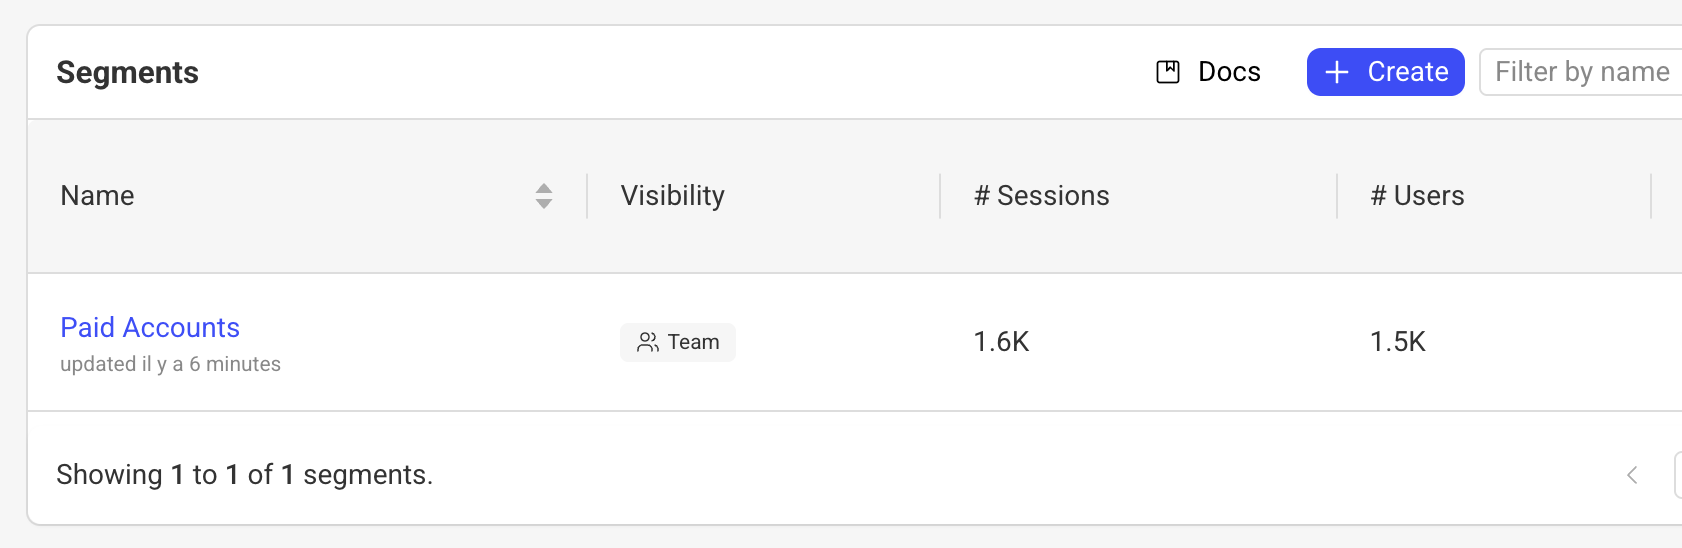
To create a Segment:
- Go to the Segments tab in Data Management
- Click Create
- Change the name and set the visibility
- Select the events and filters to include in the collection
- Create the Segment
Once created, Segments can be used in:
- Sessions — filter sessions by Segment, similarly to a saved search, to quickly find relevant user activity
- Cards — use a Segment as a filter in your cards
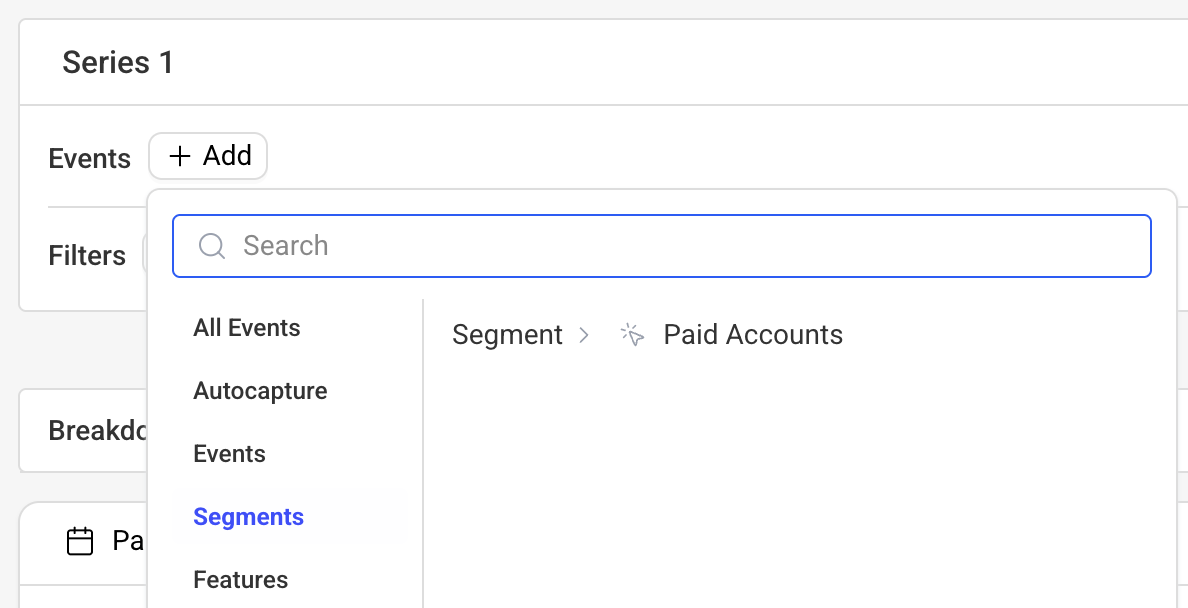
Features
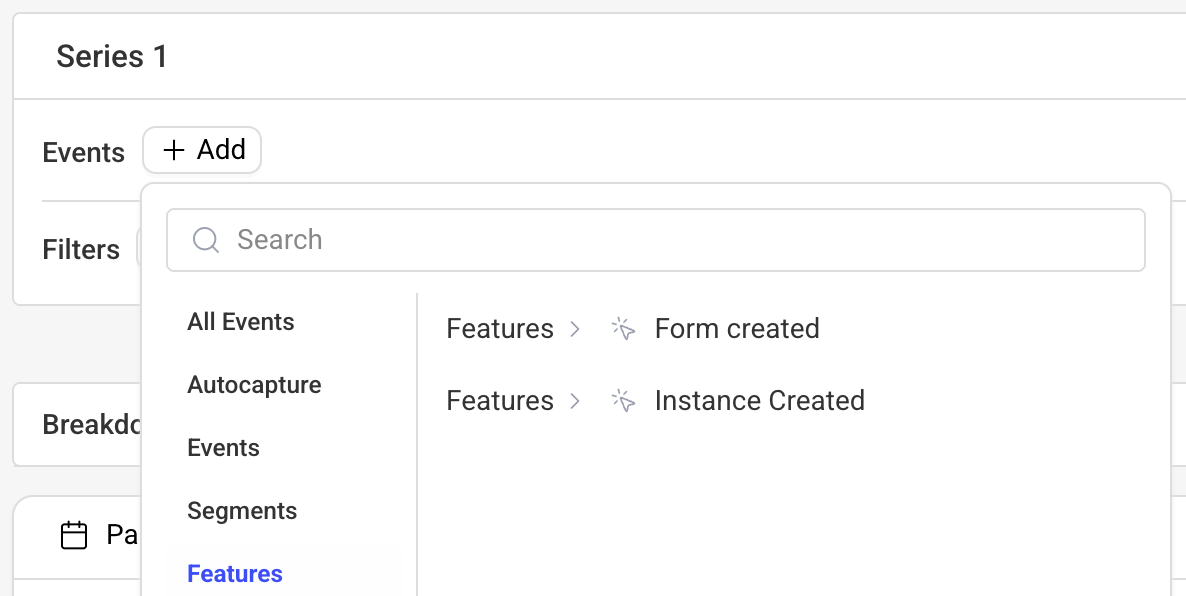
Section titled FeaturesFeatures let you visually inspect an element in a session recording and tag it, so you can easily track clicks by reusing it in various other parts of the application.
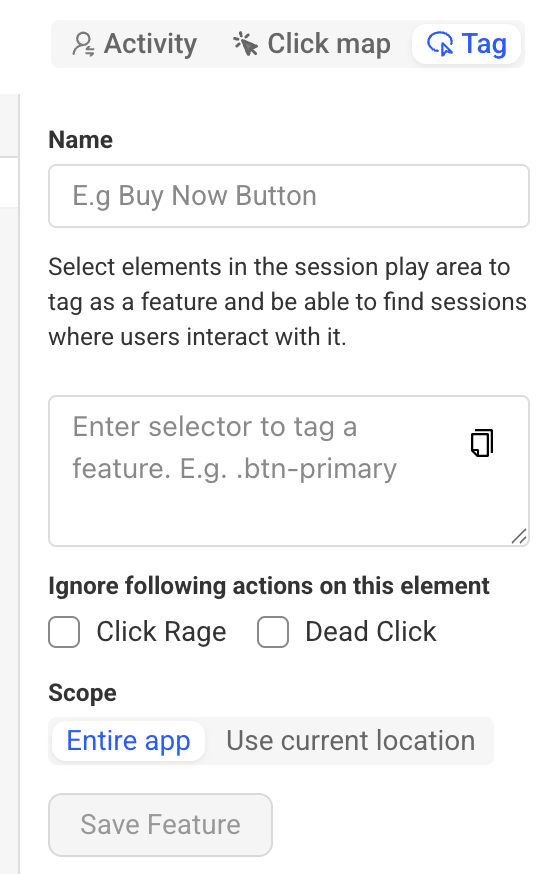
To create a Feature:
- Replay a recording then click on the Tag tab in the upper-right corner
- Use your mouse to select/tag a visual element from the replay. Once the element is selected, its CSS selector would be automatically filled. You can change it if necessary.
- Ignore dead or rage clicks when they occur
- Select the scope (track clicks across the entire application, or only the page shown in the replay)
- Save the Feature
Your Features can be managed in a dedicated section:
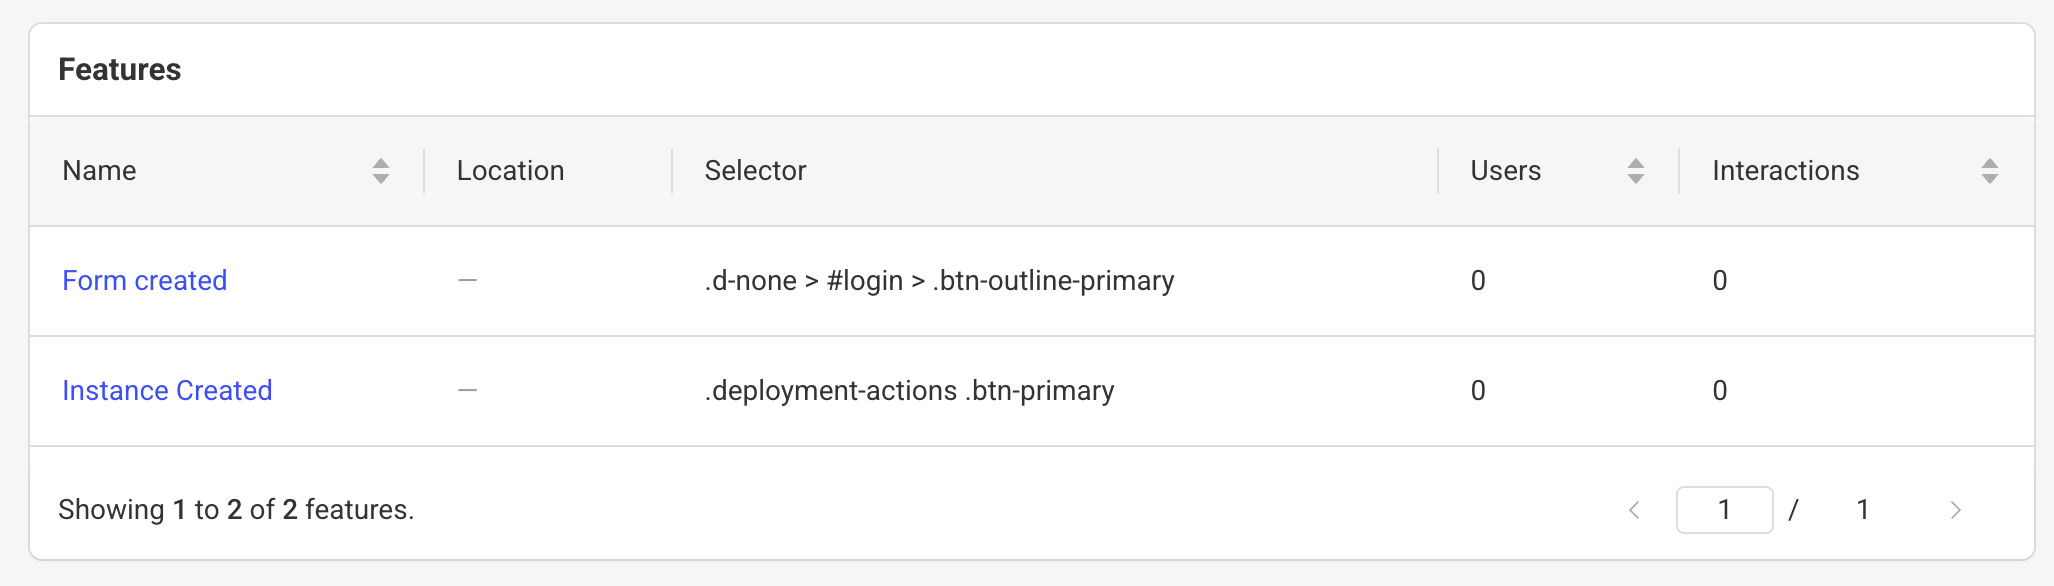
Once created, Features can be used in:
- Sessions — filter sessions by Feature, similarly to a saved search, to quickly find relevant user activity
- Cards — use a Feature as a filter in your cards
Mixpanel-compatible aliases
Section titled Mixpanel-compatible aliasesAll methods support compatibility layer provided for familiarity:
tracker.analytics.people.set            // setProperties
tracker.analytics.people.set_once       // setPropertiesOnce
tracker.analytics.people.append         // appendValues
tracker.analytics.people.union          // appendUniqueValues
tracker.analytics.people.incrementBy    // increment
tracker.analytics.events.register       // setProperty
tracker.analytics.events.register_once  // setPropertiesOnce
tracker.analytics.events.unregister     // unsetProperties
tracker.analytics.events.track          // sendEvent
Have questions?
Section titled Have questions?If you encounter any issues, connect to our Slack or check out our Forum and get help from our community.